
The Home Inspection Process in Queens, NY: What Buyers and Sellers Need to Know
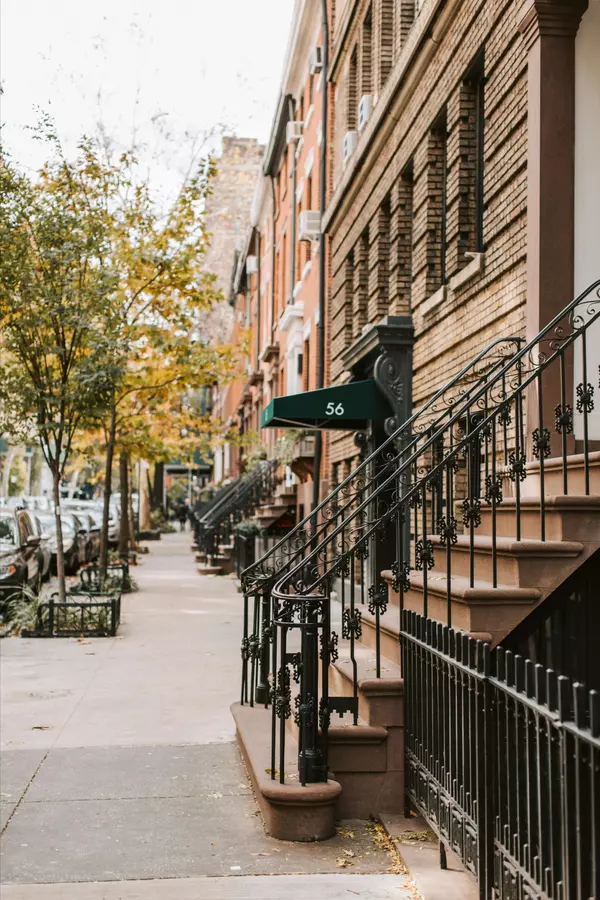
Buying a home in Queens isn’t just about falling in love with a brownstone in Ridgewood or a Tudor in Forest Hills—it’s also about making a smart investment. That’s where the home inspection process comes in. For both buyers and sellers, understanding how inspections work in Queens can mean the difference between a smooth closing and a deal that falls apart.
Why a Home Inspection Matters in Queens
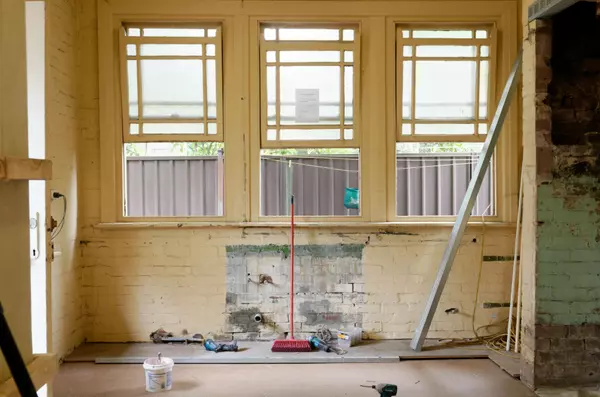
Queens is full of older homes, multi-family properties, and unique architecture. A home inspection ensures you’re not just buying charm—you’re buying safety, functionality, and peace of mind. Inspectors check for hidden issues that could cost thousands later, from foundation cracks in a Flushing colonial to outdated electrical in a Jamaica brick home.
For sellers, a pre-listing inspection can uncover problems before buyers do—giving you the chance to fix issues or price your home accordingly.
Step 1: Hiring a Licensed Home Inspector
In New York, inspectors must be licensed by the state. Look for professionals who are familiar with Queens properties, since local housing stock has quirks like:
-
Basement apartments (common in Elmhurst and Jackson Heights) that may not be up to code.
-
Oil-to-gas conversions in older homes.
-
Flat roofs on attached row houses that may hide water damage.
Step 2: What the Inspection Covers
A standard inspection usually takes 2–3 hours and includes:
-
Exterior: Roof, siding, windows, foundation, drainage.
-
Interior: Walls, ceilings, floors, doors, windows.
-
Systems: Electrical, plumbing, heating, and cooling.
-
Appliances: Major built-in appliances.
-
Safety: Signs of mold, pests, or asbestos (especially common in older Queens homes).
Buyers should attend the inspection—walking the property with the inspector helps you see issues firsthand.
Step 3: The Report
Within a few days, you’ll get a detailed written report. This document can:
-
Highlight immediate repairs (like faulty wiring).
-
Flag future concerns (like an aging roof).
-
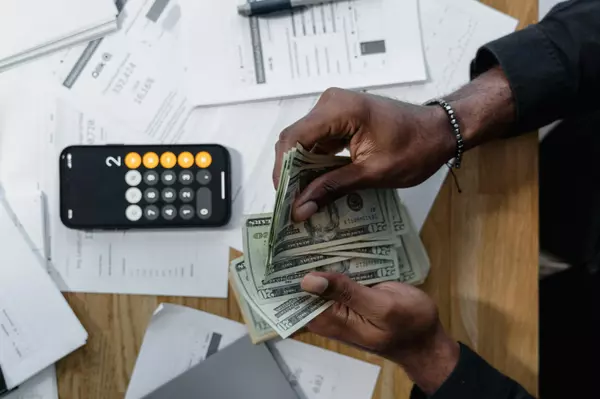
Provide leverage in negotiations.
In Queens’ competitive market, buyers may use the report to request credits, repairs, or in some cases, walk away if the issues are major.
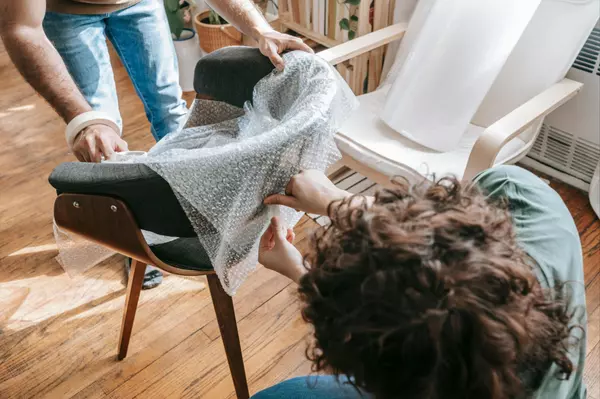
Step 4: Next Steps for Buyers
After reviewing the report, you’ll work with your realtor and attorney to decide whether to:
-
Move forward as planned.
-
Negotiate repairs or credits with the seller.
-
Back out (if your contract allows for inspection contingencies).
Tips for Sellers in Queens
-
Consider a pre-inspection. This can help you price strategically and avoid last-minute surprises.
-
Handle small repairs upfront. Fixing leaky faucets, broken tiles, or loose handrails can prevent red flags.
-
Be transparent. Full disclosure builds trust and can keep deals from collapsing.
The Bottom Line
The home inspection isn’t just a box to check—it’s a roadmap for protecting your investment. In a borough as diverse as Queens, where homes can range from pre-war co-ops to sprawling detached colonials, inspections give both buyers and sellers the confidence to move forward with clarity.
Thinking about buying or selling in Queens? I can connect you with trusted local inspectors and guide you through the process step by step.
👉 Call/text me at 718-926-3970 or email shakiradrealtor@gmail.com to schedule a consultation today.
Recent Posts


GET MORE INFORMATION